Mastering Gluten-Free Sourdough Bread: A Comprehensive Guide

Introduction to Gluten-Free Sourdough Bread

The Rising Popularity of Gluten-Free Sourdough Bread

The demand for gluten-free sourdough bread has soared recently. People with celiac disease, gluten sensitivities, and even health-conscious individuals are driving this trend. They all appreciate the distinctive taste and fermentation process of sourdough. Its growing popularity reflects a shift toward gluten-free diets, influenced by health needs and personal preferences. This interest has sparked a surge in gluten-free sourdough recipes and a variety of available products.

Understanding Gluten-Free Baking

Baking without gluten poses distinct challenges but also offers new opportunities. Traditional baking depends on gluten for dough elasticity and structure. However, gluten-free baking uses alternative ingredients like rice and almond flour or xanthan gum to replicate these properties. Bakers learn the unique behaviors of these substitutes to create enjoyable and structurally sound baked goods. Mastering the use of these alternatives is key to successful gluten-free baking.

The Unique Charm of Sourdough

Natural yeast and bacteria ferment sourdough bread, giving it a unique taste and texture. This process not only creates a distinctively tangy flavor but also enhances the bread’s digestibility and nutrition. Gluten-free individuals find sourdough a delightful alternative to other bread options, which can be bland or overly dense. Making gluten-free sourdough involves nurturing a healthy starter and perfecting the fermentation, yielding both delicious and wholesome bread.

The Essentials of Gluten-Free Sourdough Bread

Ingredients for Gluten-Free Sourdough

Creating gluten-free sourdough bread begins with choosing the right ingredients, each playing a crucial role in the bread’s texture and flavor. Essential components include gluten-free flour, psyllium husk, and a gluten-free starter. Gluten-free flour forms the base of the bread. Unlike wheat flour, it doesn’t contain gluten, which is vital for bread’s elasticity. Therefore, bakers use different blends, often rice, almond, or coconut flours, to achieve a suitable texture.

Psyllium husk stands out as a key ingredient in gluten-free sourdough recipes. It acts as a binder, providing the structure that gluten usually offers. This natural fiber helps to retain moisture, ensuring the bread doesn’t crumble and maintains a pleasant texture.

A gluten-free starter is the heart of sourdough bread, fostering the fermentation that gives sourdough its distinctive tangy flavor. Creating a starter involves fermenting gluten-free flour and water over several days, capturing wild yeast and beneficial bacteria from the environment. This process is pivotal for the bread’s rise and flavor development.

Tools and Equipment Needed

The right tools can significantly enhance the gluten-free sourdough baking experience. Key equipment includes a bread baker, a Pullman Pan, and various mixing bowls. A bread baker or Dutch oven can create an ideal environment for the sourdough to rise and bake, mimicking professional bread ovens’ steam and heat retention.

The Pullman Pan is particularly useful for gluten-free sourdough bread, giving it a classic, uniform shape. Its lid helps in creating a consistent crust and aids in the bread’s proper rise, which is crucial in gluten-free baking where structure is harder to achieve.

Mixing bowls are fundamental in any baking process, and for gluten-free sourdough, they need to be sturdy and spacious. Mixing the dough properly is vital, as gluten-free flours behave differently from wheat flour. A set of good quality mixing bowls ensures that ingredients combine well, aiding in developing the right dough consistency.

Step-by-Step Recipe Guide

Preparing Your Gluten-Free Sourdough Starter

The journey to delicious gluten-free sourdough bread starts with a robust starter. A gluten-free sourdough starter requires a mix of gluten-free flour and water, allowed to ferment to capture wild yeast and beneficial bacteria. Begin by mixing your chosen gluten-free flour with water in a clean jar, maintaining a thick, paste-like consistency.

Feeding the starter is critical for its health and activity. Each day, add equal parts of flour and water. This process, known as feeding, replenishes the starter’s food source, encouraging fermentation and yeast growth. Observing the starter’s consistency is crucial; it should be thick yet stirrable, indicating active fermentation.

The fermentation process, typically taking about 5-7 days, is vital for developing the starter’s flavor and leavening power. You’ll know it’s ready when it exhibits a pleasantly sour aroma and bubbles form, showing active yeast presence.

Mixing and Kneading the Dough

Once your starter is active, you’re ready to mix the dough. Combine the gluten-free flour blend, psyllium husk (for structure and moisture retention), and your bubbly starter. In gluten-free sourdough, the hydration level is key. Since there’s no gluten to develop, the focus is on achieving the right moisture content to allow the dough to expand and rise.

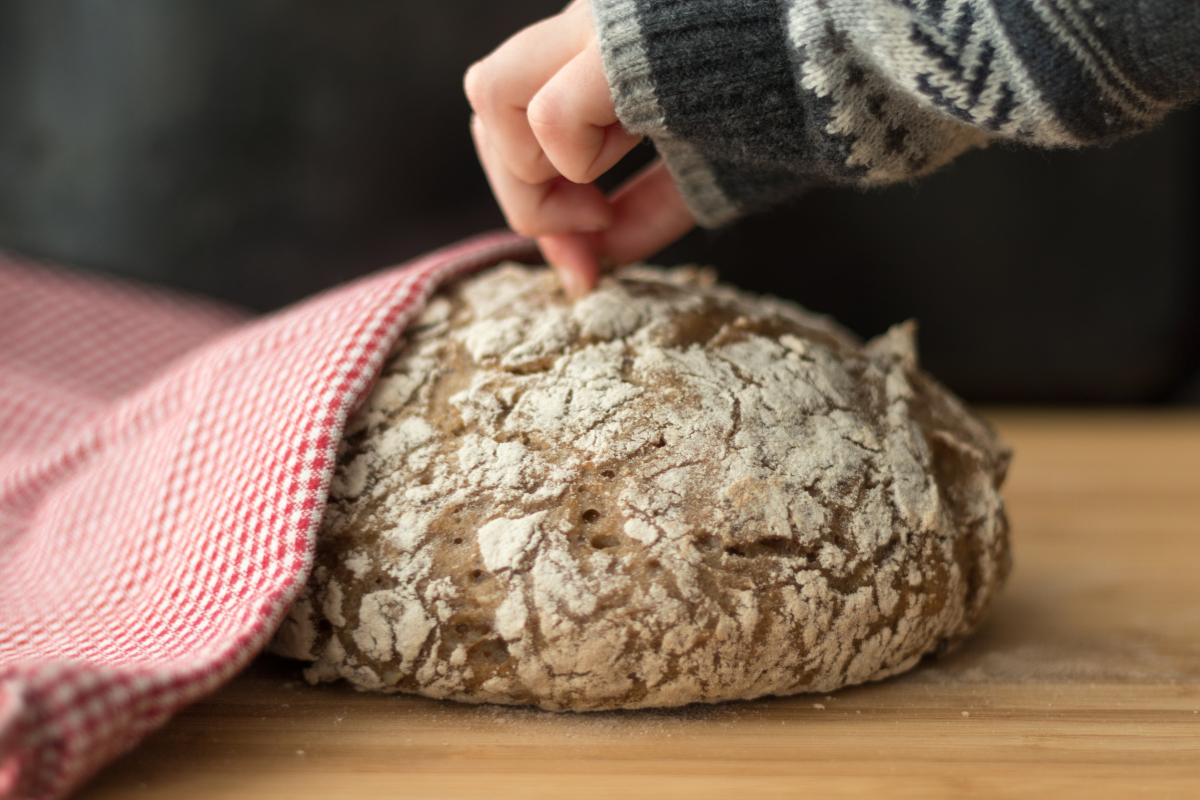
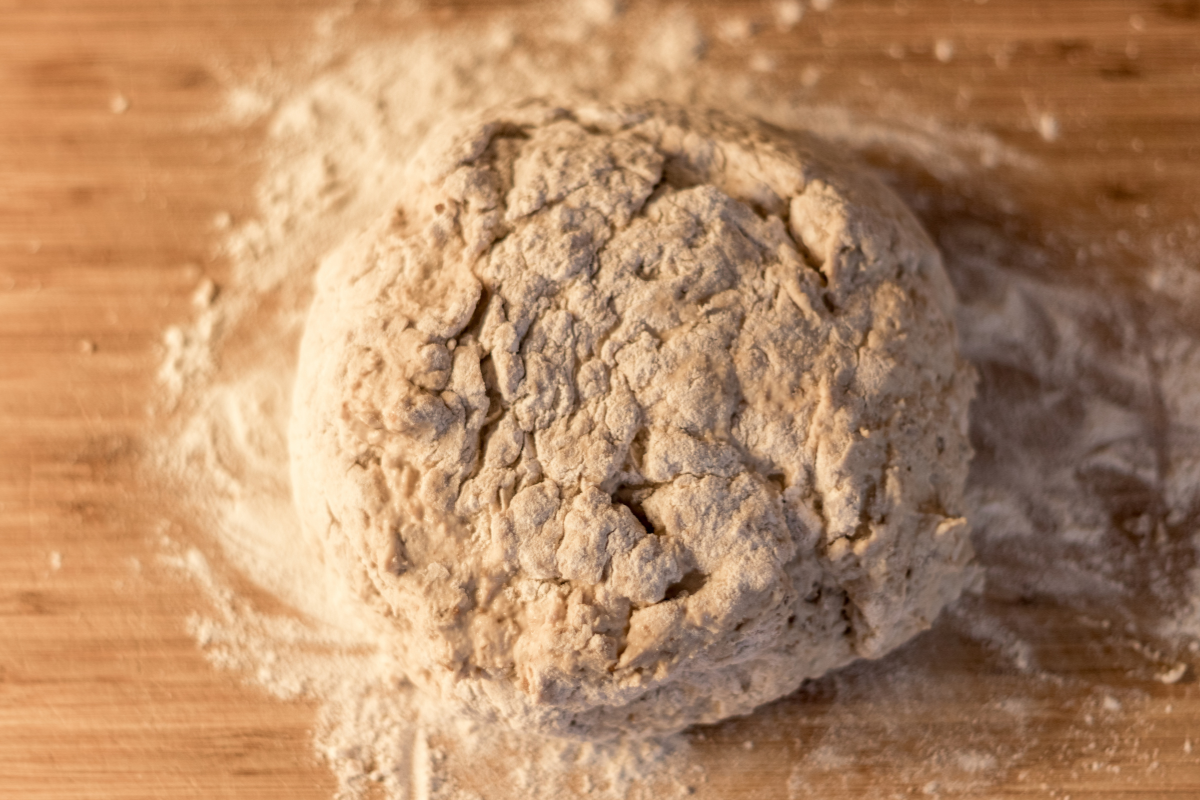
Unlike traditional sourdough, gluten-free dough doesn’t require kneading. Instead, ensure thorough mixing to integrate all ingredients well. The dough should be sticky and thicker than pancake batter yet not as firm as traditional bread dough. Once mixed, let the dough rest to allow the psyllium husk to absorb the moisture and expand, giving the dough a better structure.

Baking Your Gluten-Free Sourdough Bread

Baking is the final step where all your preparation comes to fruition. Preheat your oven – the right temperature is crucial for achieving a perfect crust and well-cooked interior. Most gluten-free sourdough breads bake well at temperatures around 450°F (232°C), creating a nice crust while keeping the inside moist and airy.

Before baking, transfer your dough to a well-greased Pullman Pan or a Dutch oven lined with parchment paper to prevent sticking. Scoring the top of your loaf isn’t just for aesthetics; it helps control the bread’s expansion in the oven.

Monitoring the bread’s internal temperature is critical to ensure it’s fully baked. Gluten-free breads are done when their internal temperature reaches about 205-210°F (96-99°C). Once baked, let the bread cool completely before slicing to allow the structure to set, preventing it from becoming gummy or collapsing.

By following these detailed steps—preparing the starter, mixing and resting the dough, and baking with precision—you’ll create a gluten-free sourdough bread that’s not only satisfying to make but also delightful to eat.

Tips and Troubleshooting

Achieving the Perfect Crust and Crumb

For many bakers, the quest for a gluten-free sourdough bread with a crunchy crust and an airy crumb is the pinnacle of success. To achieve a desirable crust, preheat your oven with a baking stone or cast iron skillet inside. Introducing steam by placing a pan of water on the oven’s bottom rack or spritzing the oven with water can also help develop a crispy crust. For the crumb, ensure your dough is properly hydrated. The right balance of moisture helps create an airy, open crumb structure in gluten-free bread, despite the absence of gluten.

Fine-tuning the oven temperature is another key factor. A high initial heat can help with oven spring, the rapid rise of dough once it hits the heat, contributing to a lighter crumb. After the initial burst of high temperature, reducing the heat allows the bread to cook through without burning the crust.

Common Gluten-Free Sourdough Issues and Fixes

Even experienced bakers can face issues with gluten-free sourdough bread. If your dough is too dense or not rising well, consider the consistency of your starter. It should be active and bubbly. If it’s not, give it more time to ferment and ensure you’re feeding it regularly. Also, check the expiration dates on your ingredients, as old flour or baking powder can affect the rise.

For dough that’s too wet or sticky, adjust by adding a little more flour, but do so sparingly to avoid a dry loaf. Conversely, if the dough is too dry, incorporate more water or starter to reach the desired consistency.

If your bread isn’t sour enough, extend the fermentation time of your starter or the proofing time of your dough. Cooler, slower fermentation promotes acidity, enhancing that characteristic sourdough tang. Conversely, if your bread is too sour, shorten the fermentation period or feed your starter more frequently to dilute the acidity.

Addressing these common issues can help you refine your gluten-free sourdough baking process, leading to better texture, flavor, and overall satisfaction with your bread.

Frequently Asked Questions

Frequently Asked Questions

  1. Can I make gluten-free sourdough without a starter? No, a starter is essential for sourdough bread as it provides the necessary yeast and bacteria for fermentation. Without it, you won’t achieve the distinctive sourdough flavor and texture.
  2. Why is my gluten-free sourdough bread too dense? If your bread is too dense, it might be due to insufficient fermentation or not enough leavening. Ensure your starter is active, and your dough has enough time to rise. Check the hydration level too, as too little water can lead to dense bread.
  3. How long should I ferment my gluten-free sourdough starter? Typically, it takes about 5-7 days to develop a new gluten-free sourdough starter. It’s ready when it has a pleasant sour smell and shows consistent bubbling activity.
  4. Can I use regular gluten-free flour for my sourdough bread? Yes, but ensure it’s a high-quality blend suitable for bread baking. Some gluten-free flours are better for cakes or cookies and might not provide the structure needed for bread.
  5. How do I store gluten-free sourdough bread? Store it in a cool, dry place in an airtight container. Gluten-free bread can dry out or become stale faster than its gluten-containing counterparts, so it’s best consumed within a few days. Freezing is also an option for longer storage.

Advanced Techniques and Variations

Experimenting with Flavors and Ingredients

Once you’ve mastered the basic gluten-free sourdough recipe, you can start experimenting with various flavors and ingredients to enhance your bread. Alternative flours like buckwheat, amaranth, or teff can introduce new tastes and nutritional profiles to your loaves. Each flour brings its unique flavor and set of nutrients, offering a delightful variation from the usual bread.

Incorporating flavor enhancers like olives, nuts, seeds, or dried fruits can turn a simple loaf into a gourmet experience. These additions not only enhance taste but also provide additional nutritional boosts, like fiber, vitamins, and minerals.

Herbs and spices are another way to add depth and character to your gluten-free sourdough. Ingredients like rosemary, thyme, or cinnamon can transform the flavor profile of your bread, making each loaf a unique culinary creation.

Creative Shapes and Designs

Gluten-free sourdough doesn’t have to be limited to traditional loaf shapes. With a bit of creativity, you can shape your dough into various forms, from baguettes to boules or even intricate braided designs. While gluten-free dough may not hold shapes as well as gluten-containing dough, you can still achieve impressive results with gentle handling and the right techniques.

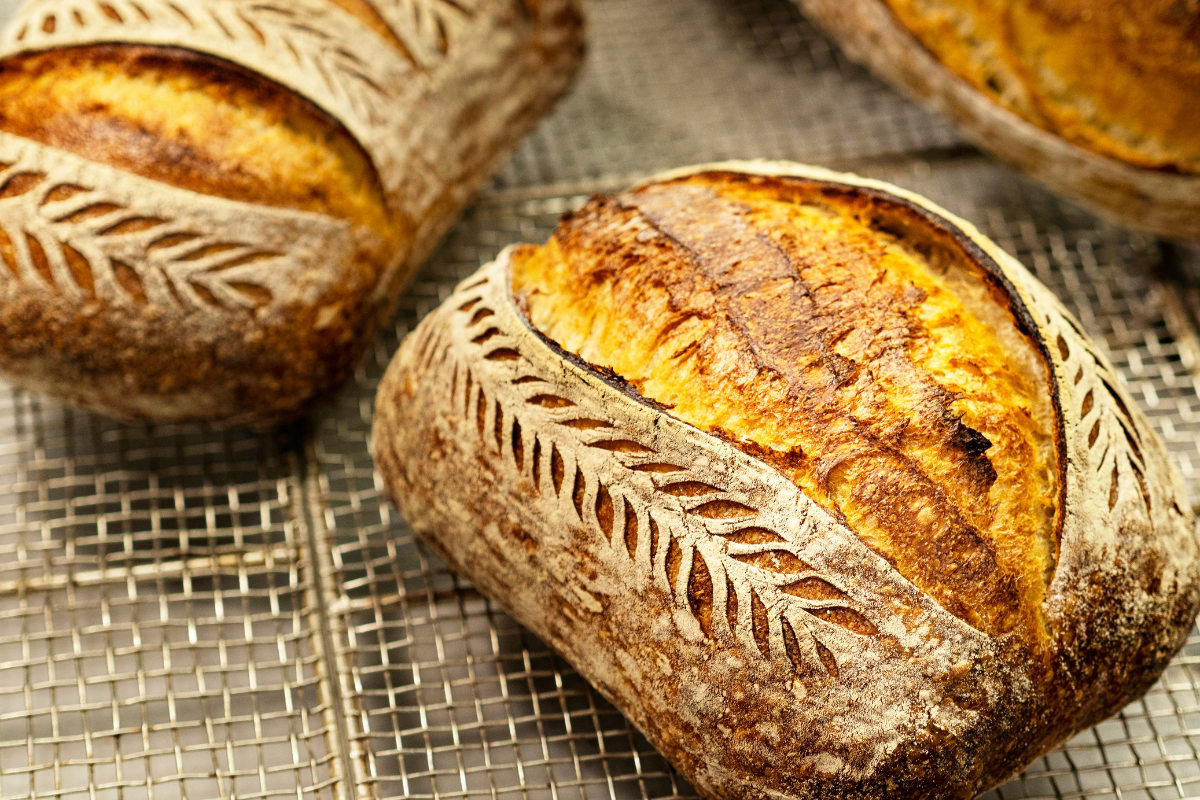
Scoring your bread before baking not only helps control the expansion but also adds an artistic touch. You can use scoring to create simple designs like wheat stalks or more complex patterns that add visual appeal to your bread.

Embracing these advanced techniques and variations allows you to expand your gluten-free baking repertoire, creating bread that’s not only delicious but also a feast for the eyes.

Serving and Storage Recommendations

Best Ways to Enjoy Your Gluten-Free Sourdough Bread

Enjoy your gluten-free sourdough fresh out of the oven for the best taste and texture. It pairs wonderfully with both savory and sweet toppings, from a simple spread of butter to more elaborate sandwich creations. Toasting slices can revive the crust’s crunchiness and enhance the bread’s inherent flavors, making it ideal for breakfast or a hearty snack.

Storing for Freshness

To maintain freshness, store gluten-free sourdough bread in an airtight container at room temperature for up to two days. For longer storage, slice and freeze the bread, using wax paper to separate slices for easy individual retrieval. Thawed or lightly toasted, it retains much of its original charm, ensuring you can savor every slice.

Conclusion

Embarking on the journey of baking gluten-free sourdough bread is a rewarding experience that marries tradition with dietary needs. By mastering the basic techniques, understanding the importance of ingredients, and experimenting with variations, you can enjoy bread that’s not only safe for your dietary restrictions but also delightful to your taste buds. Whether you’re new to gluten-free baking or a seasoned artisan, the world of gluten-free sourdough offers endless possibilities to explore, ensuring each loaf is a testament to your baking prowess and a step toward healthier, happier eating.

4 thoughts on “Mastering Gluten-Free Sourdough Bread: A Comprehensive Guide”

Leave a Comment